
How To Make A Succulent Covered Pumpkin
/Our favorite workshop for a reason! These pumpkins are super easy and super fun to make. Perfect for any age, and even better to do with family and friends. We’re doing things virtually this season to keep it safe, you can follow along with us here to make your pumpkin anytime.
You can also see more photos and videos on our Instagram or if Facebook is your jam, check out our slideshow here or Join us Live October 22nd on Facebook and make along with us!
The best part of these succulent pumpkins is that you really don’t have to do a thing to them once we’ve made them. The succulent cuttings won’t need water, just a little sun if you’ve got it and you can pop off the succulents and plant them when you’re done.

Here’s what you’re going to need:
Succulent cuttings
A Pumpkin
Preserved Moss, Sphagnum Moss
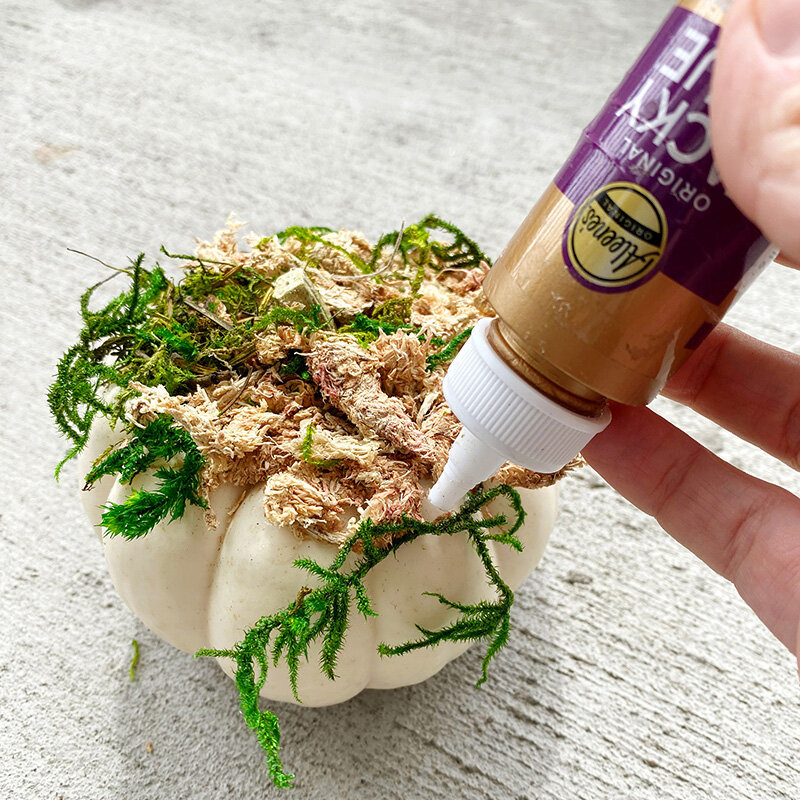
Glue, Hot Glue works too.
Decorative bits & bobs optional
Scissors or garden snips
First thing to do is glue! We’ll start with gluing around the top of your pumpkin, you don’t need to over do it, a little goes a long way and the more glue you use the longer it will take to dry. Make sort of a spider web or start shaped pattern with glue around the top of your pumpkin. Then pile some moss on that glue, press and hold for a few seconds to keep it in place. No need for perfection here, we’re going to add and remove moss as we go.
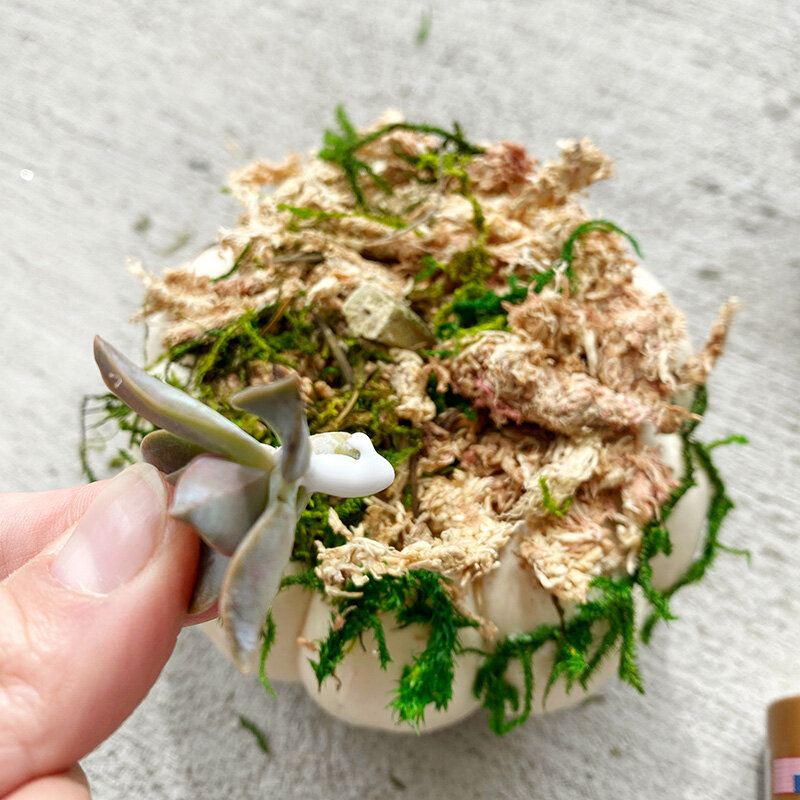
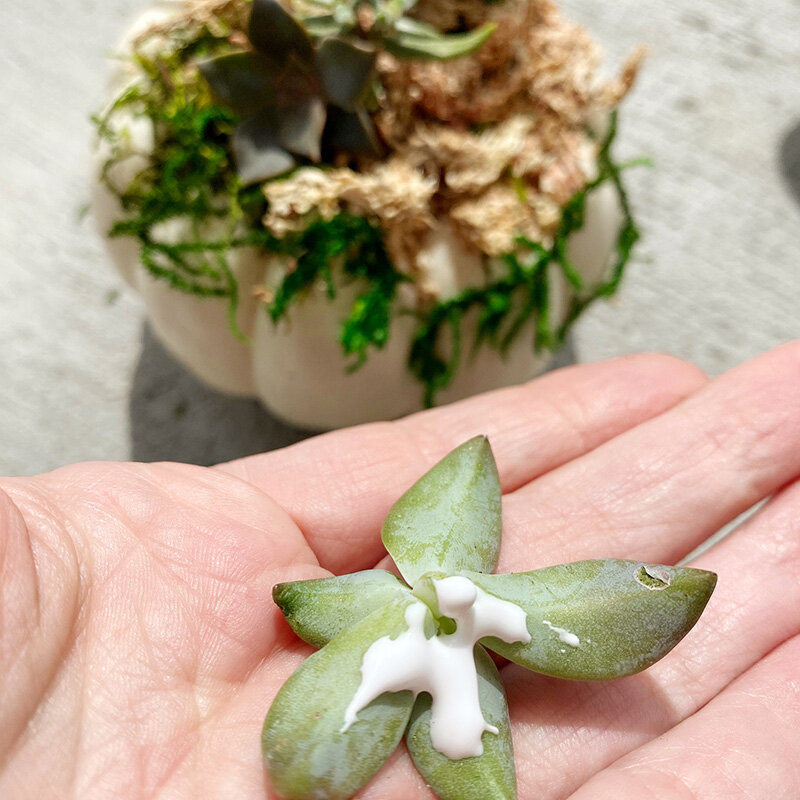
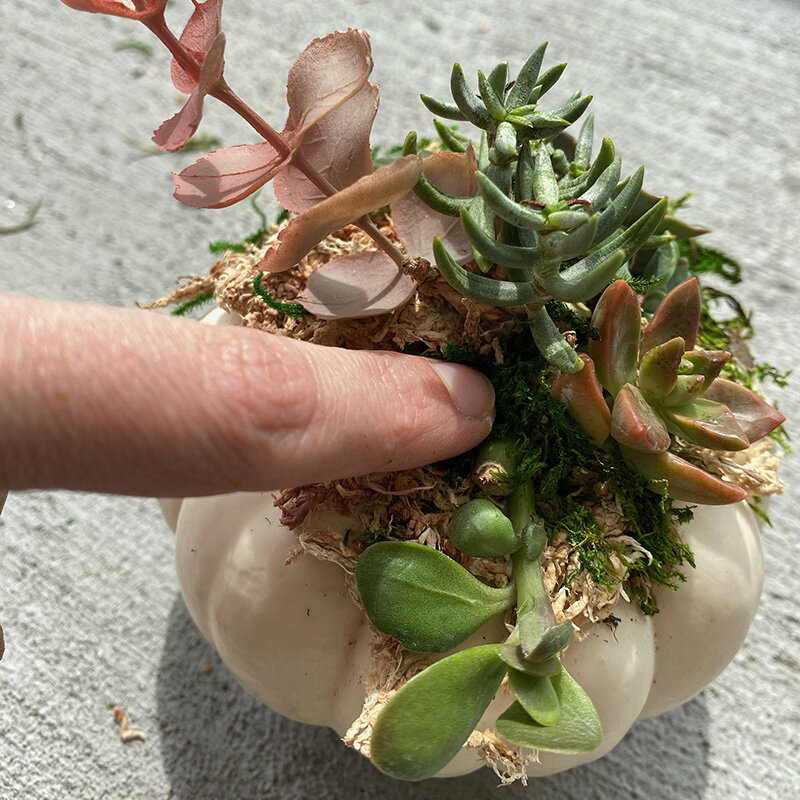
Now the fun part! Start with your larger succulents and pieces of decor first since they’ll take the longest to dry and we’ll probably want to build our arrangement around these bigger pieces. I glued down the largest succulents and my faux eucalyptus leaves first here. Use moss around your cuttings as you glue them to help prop them up and keep them in place. Since we’re using tacky glue, you’ll have time to re-adjust and move your cuttings a few times before they dry completely so don’t feel like you have to commit to anything 100%. Take your time and plan out your design. Trim your cuttings or remove leaves to make them fit into tighter spots.
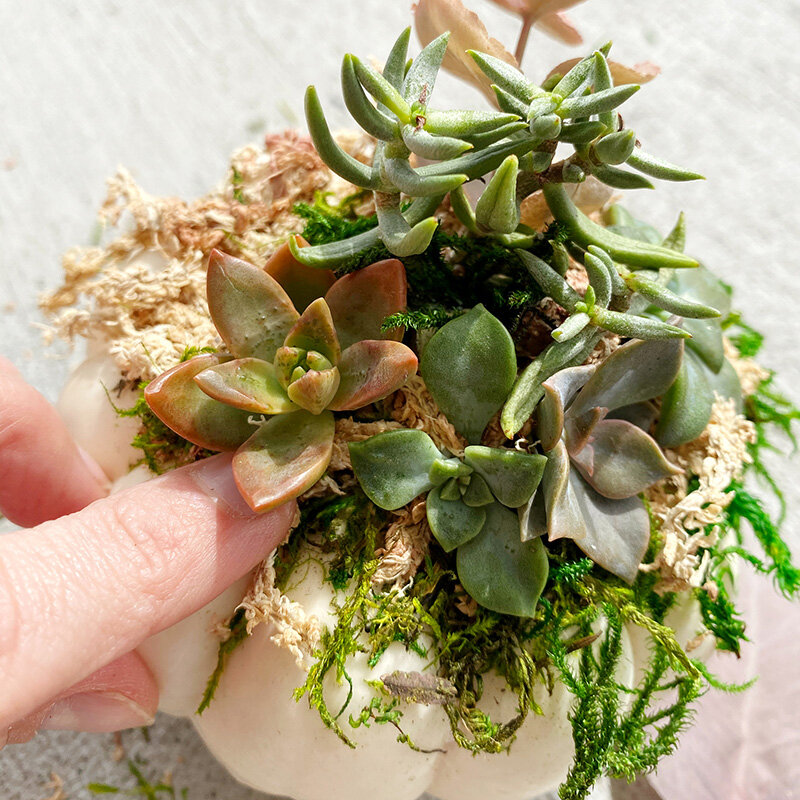
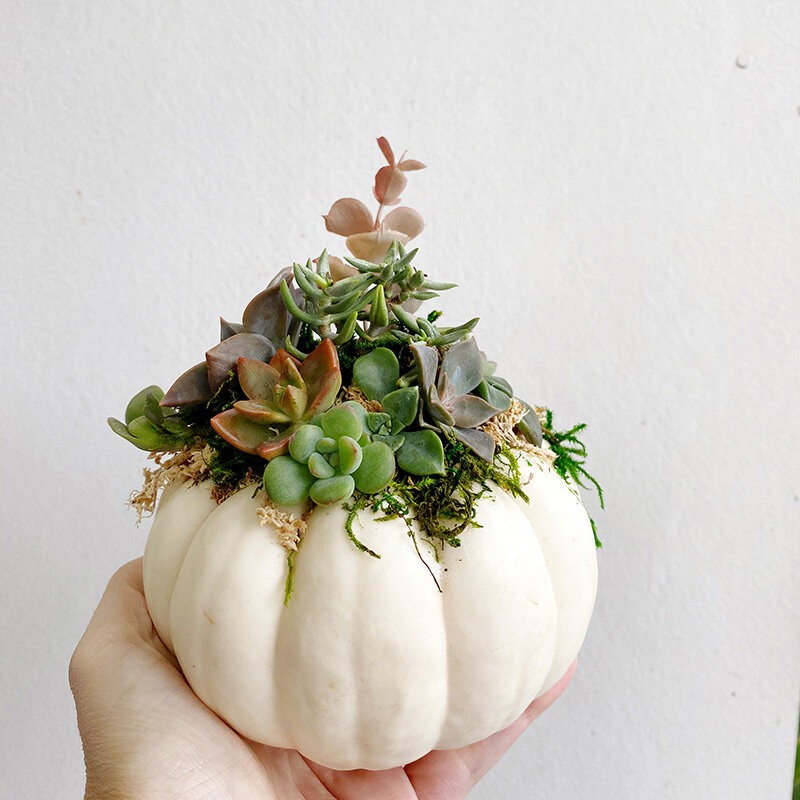
Keep adding succulents, and moss as you like. I like using the green moss for pops of color and texture in between succulents. Let your creation dry for a few hours to give everything proper time to set. Use a smaller pumpkin 3”-6” for a fuller look like we did here or go bigger if you’d like, there’s no rules. We love the look of these with heirloom pumpkins in white or purple.


Happy Crafting Friends!
Tag us on social so we can see your pumpkins
Want To Learn More About Succulents?
Check out all our blogs on Succulent Care below


How to water your succulents - Succulents are like cats, they want water, they need water but don’t you dare get them wet! Succulents prefer to be watered at the base of the plant, water the soil not the plant itself.